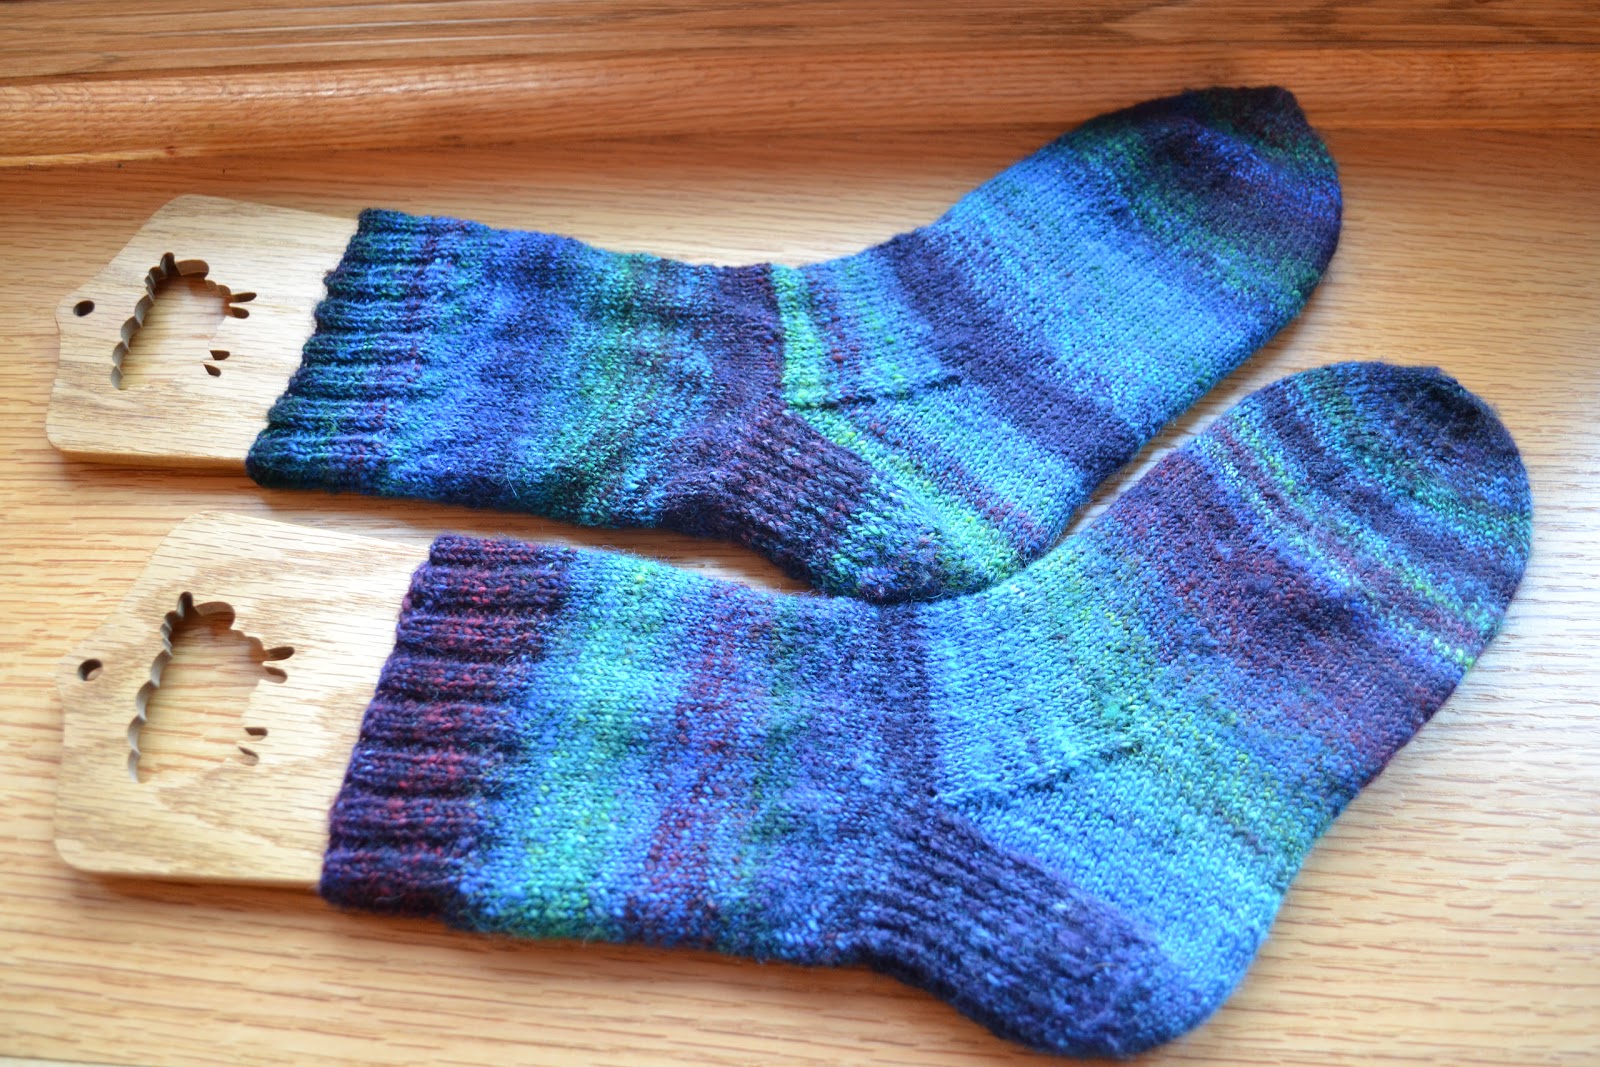
(photo ~ my handspun fingering weight yarn from Dyeabolical superwash wool roving, sock blockers from The Loopy Ewe)
Hi Knitters,
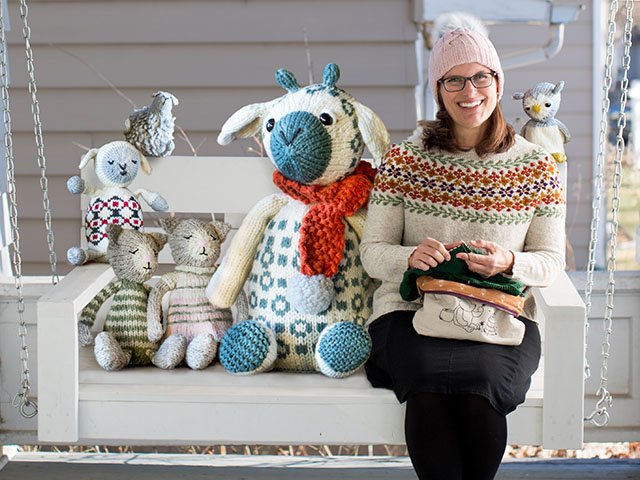
Oh my goodness, you all make me smile and laugh. Last I looked there were well over 30 comments on the Super Sock Update post. Well, if you double that number that's about how many emails I have received asking specific questions about my socks. I have to smile again because while I am writing this I am getting more emails popping up with questions about socks.
Anyway, instead of trying to respond individually to dozens of emails I am writing this post packed full with information about the stockinette stitch socks I always have on my needles. I always use double-pointed needles (dpns), too, I don't magic loop or two at a time, I do plain and simple dpns only!
If you want information about other techniques like magic loop or other circular needle techniques you will have to go elsewhere to find it, like youtube or do a google search or look for some good books.
Here it goes! Also, because I know I will get asked, I am not making a pdf for How I Make My Socks. Feel free to copy and paste the text from this blog post in your word program and make a pdf or simply print it out from there if you'd like. This is just a simple write up of my version of stockinette socks.
I put this up in Ravelry if you want to favorite it there. Click here for the Ravelry project page for How I Make My Socks.
How I Make My Socks
Written by, Susan B. Anderson
Materials:
Sock/fingering weight yarn
US size 1 double-pointed needles (set of 4)
Yarn needle
Scissors
Tape measure or ruler
Gauge:
I don't worry much about this although I don't recommend not worrying about it. I simply use fingering or sock weight yarn and US size 1 dpns. My gauge varies between 7-8 stitches per inch in stockinette depending on the yarn I use.
Cuff:
Cast on 64 stitches. I use a long-tail cast on (click here for my video tutorial on this cast on). Join to work in the round.
Rnds 1-12: (k2, p2) repeat to the end of the round.
(Sometimes I forget to stop ribbing and then I have more like 15 or 16 rounds of rib, I just match it on the second sock.)
Continue in stockinette stitch (knit all stitches on every round) for 6 inches. This is my cuff length preference. You can make your cuff shorter or longer as you see fit.
Heel
Flap:
Divide
the stitches as follows:
Needle 1: 32 sts (Needle 1 becomes the heel flap)
Needles 2 and 3: 16 sts each
Work
back and forth only on Needle 1 for the heel flap.
Row 1: (slip 1 stitch as if to purl, k1) repeat to the end of
Needle 1
Row 2: slip 1 stitch as if to purl, purl to the end of Needle 1
Repeat
rows 1 and 2, fifteen more times (16 times total). If you count you will have
16 columns of slipped stitches on your heel flap.
Repeat
Row 1 one more time.
Turn
the Heel:
abbreviations:
p2tog - purl 2 stitches together
k2tog - knit 2 stitches together
abbreviations:
p2tog - purl 2 stitches together
k2tog - knit 2 stitches together
Now, continue to work back and forth on Needle 1 only. You’ve just completed a right side row. Turn and work back on a wrong side row as follows:
Row
1: slip
1 stitch as if to purl, purl 17 stitches, p2tog,
purl 1 stitch, turn to go work back in the other direction.
Row
2:
slip 1 stitch as if to purl, knit 5 stitches, k2tog,
knit 1 stitch, turn to work back in the other direction.
Row
3: slip 1 stitch as if to purl, purl to 1 stitch
before the gap (look and you’ll see the gap where you turned on the row
before), p2tog, p1, turn to work back in the other direction.
Row
4:
slip 1 stitch as if to purl, knit to 1 stitch before the gap, k2tog, k1, turn
to work back in the other direction.
Repeat rows 3 and 4 until all of the stitches have
been worked. Your last row should be a row 4 so you are at the end of a knit
row. On the last 2 rows you work, you will end the rows with a p2tog and a
k2tog.
You will have 18 stitches remaining on Needle 1.
Gusset:
First:
Continue on with the working yarn to pick up
stitches going down the side of the heel flap using the free dpn to pick up the
stitches.
Pick
up 16 stitches, (pick up one stitch in each of the slipped stitches).
Second:
Now
place all of the stitches on Needle 3 onto Needle 2. Needle 2 now has 32
stitches. Knit across Needle 2, which is now the top of the foot on your sock.
Third:
Continue
on with the working yarn to pick up 16 stitches going up the other side of the
heel flap, picking up 1 stitch in each of the slipped stitches. This is Needle
3.
Fourth:
Continue
working onto the same needle (Needle 3) and knit 9 stitches from the heel turn.
Place the remaining 9 stitches onto what is now Needle 1.
New stitch count:
Needle
1: 25 stitches
Needle
2: 32 stitches
Needle
3: 25 stitches
Decrease rounds for the gusset:
Rnd 1: knit all stitches
Rnd 1: knit all stitches
Rnd 2:
Needle
1: knit to the last 3 stitches, k2tog, knit 1 stitch
Needle
2: knit
Needle
3: knit 1 stitch, ssk, knit to the end of the needle
abbreviation:
ssk – slip 2 stitches separately as if
to knit, knit the slipped stitches together through the back loops
Repeat
rounds 1 and 2 until there are 16 stitches on each of Needles 1 and 3, and 32
stitches still remain on Needle 2.
Foot:
Knit every round until the foot measures (from the back of the heel to the stitches on the needles) 2-inches shorter than your desired total foot length.
For example, my foot measures 9 1/2 inches from the back of my heel to the end of my toes. I work my foot to 7 1/2 inches before I start the toe decreases. My shoe size is a US women's 7.5, I wear a 38 in Birkenstocks. I have a 9-inch foot circumference at the ball of my foot.
Toe:
Rnd
1: knit
all stitches
Rnd
2:
Needle 1: knit to the last 3 stitches, k2tog, knit 1
stitch
Needle 2: knit 1 stitch, ssk, knit to the last 3
stitches, k2tog, knit 1 stitch
Needle 3: k1, ssk, knit to the end of the needle
Repeat rounds 1 and 2 until you have 6 stitches
remaining on Needles 1 and 3, and 12 stitches on Needle 2.
Now knit the 6 stitches from Needle 1 onto Needle 3. You now have 2 needles with 12
stitches each.
Cut
the yarn leaving a 10 inch end. Place the end on a yarn needle. Use the Kitchener
stitch to close the toe.
I have an instructional video tutorial on the Kitchener stitch
to close the end of a toe. Click here for the video.
There you have it! I am not going to individually respond to email questions and instead I am offering this post of sock-filled information.
I have had a few people ask about the cuff falling down while wearing the socks. I don't have this problem but my suggestions would be to either decrease the number of stitches for the ribbed section of the cuff (make it a multiple of 4 if using a k2, p2 rib) or decrease the size needle you are using to work the ribbed section of the cuff (or do both a smaller number of stitches and a smaller needle size) in order to achieve a more customized fit.
Added later: By chance I happened upon this today to help with cuffs staying up! Click here.
Added later: By chance I happened upon this today to help with cuffs staying up! Click here.

Here are the books I constantly recommend to people for basic sock instruction and know-how:
Knitting Rules - Stephanie Pearl McPhee (pg. 131) - a sketchy recipe for socks that I really enjoy and a generally great book on knitting!
Getting Started Knitting Socks - Ann Budd - The best ever and most informative sock knitting basics book, extremely thorough, lots of options, etc. Highly recommend!!!
The Knitter's Handy Book of Patterns - Ann Budd - This book contains a basic stockinette stitch sock with heel flap and gusset in 5 different gauges. You'll have everything at your fingertips for this same type of sock starting on page 48. Plus, this book is a must have for basic patterns of all sorts!
Also, there is a great little tutorial by Mary Jane Mucklestone (click here) on how to sew up holes like the ones you might get when picking up stitches on the sides of the gussets. She is using mittens as her example but it could be used for socks as well. There are lots of tips and tricks available about different techniques to close up these holes so you might want to do a search for those.
Enjoy! I hope I have answered all of your questions.
best, susie